


Upgrade your Kitchen with Extended Cabinet Display Boxes
- Catherine Anderson

- Dec 27, 2020
- 2 min read
Add a little more value to your home by updating the kitchen cabinets with lighted storage above short wall cabinets.
In this project, we added over boxes above the builder grade wall cabinets installed when the home was first built and then ran lighting in the cabinet boxes as well and under the wall cabinets for an updated feel.

To start this project, we purchased 3 sheets of 4' by 8'. MDF composite board which proved to be more than enough and we only used 2 boards to build the actual boxes. We also used 3 1.5" by .75' by 8' wide pine boards as the forward facing trim on the boxes.
The most important part of this project was having all the necessary tools. We used a circular saw to cut the lengths and widths of all the interior boxes out of the MDF boards. The interior cabinets were cut to depth of the cabinets minus the trim.

Using a combination of wood glue and a brad nailer, we formed the boxes and then attached them to the cabinets and walls with wood screws.
We then measured the pine boards for the trim and face of the boxes and attached them to the interior boxes with wood glue and brad nails to give the boxes a more finished look and make sure that they were flushed with the cabinets below. Any uneven parts of the seam would then be covered with a 1" decorative trim.
Once the the boxes and trims were in place, we added crown molding to the top of the boxes where it meets the ceiling with wood glue and brad nails.


We then went over any nail holes and minor gaps with wood putty and sanded the areas once the putty dried. We also use caulk inside and outside the cabinets to fill in the seams between the boxes and the walls.
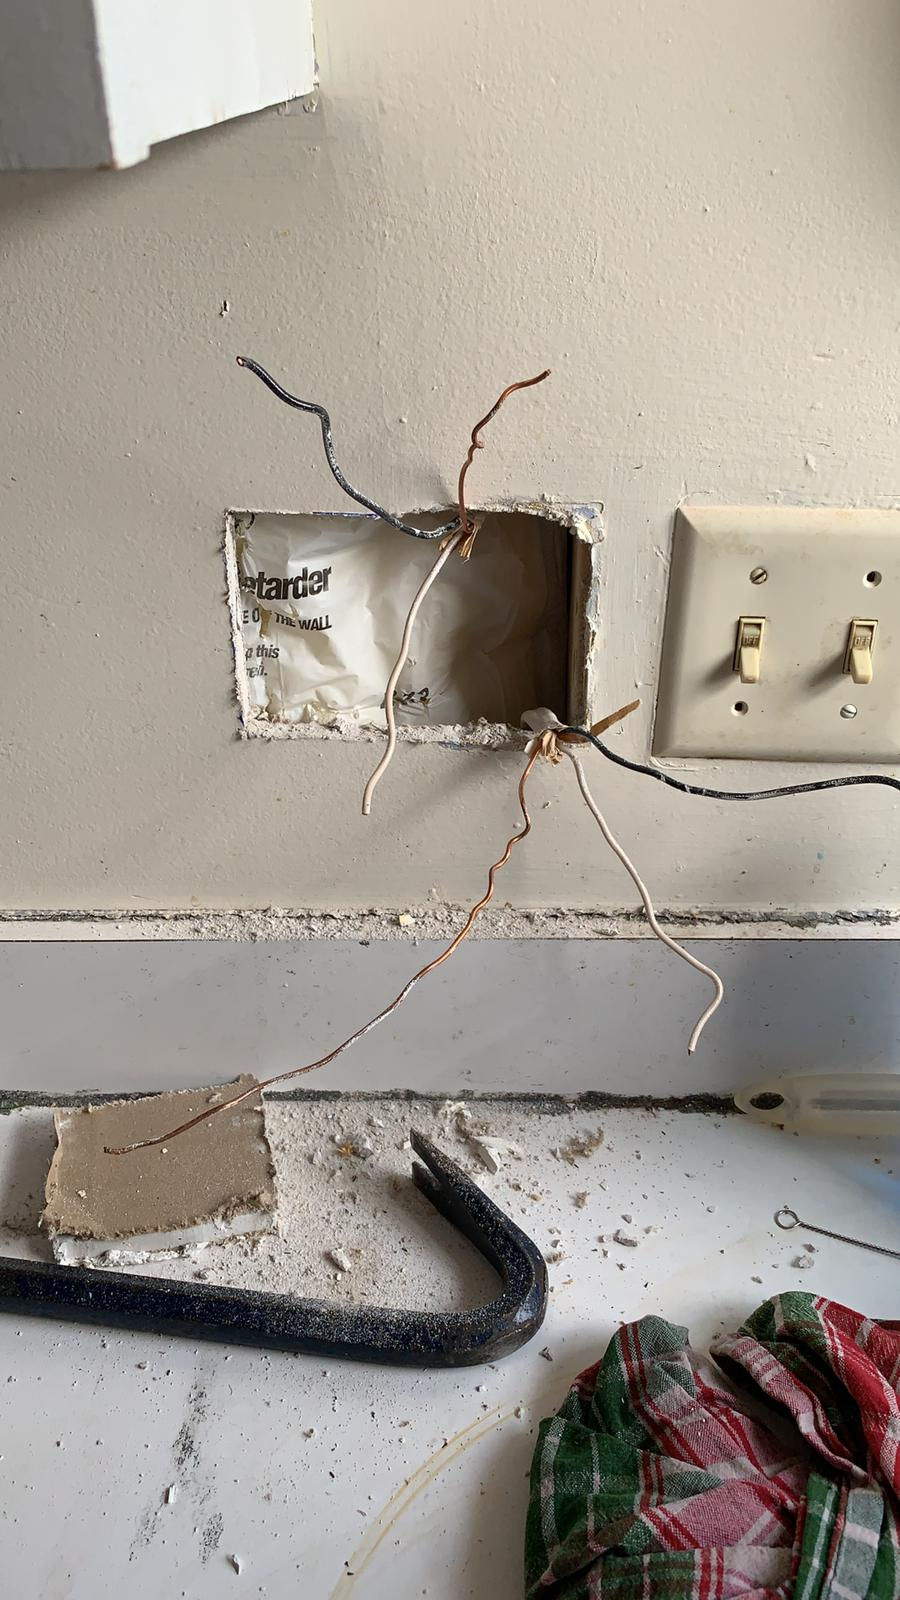
For the lighting, we found LED kitchen kits on Amazon and used 2 10-strip kits to run lights on top and under the wall cabinets. We drilled holes in the corners of the cabinets to run the wiring for LED strip lights that would be hard wired into the house. We also had to cut through the dry wall to get the lights from one wall to the next.
We loved that the light switches were dimmable and the top and bottom were controlled by different switches. This required installing new switches in the wall. You can also use battery operated LED lights if you're not comfortable with doing the electrical yourself.
Once the light was installed and the drywall patched back up, we painted the cabinets a chalky white.


Comments